Why You Should be Barrel Aging at Home
 Barrel aging at home is fairly simple, not ridiculously expensive and seriously worth doing. The in’s and out’s of getting started are covered in our Barrel Aged Cocktails page. While simply barrel aging cocktails is reason enough to get started, the real magic occurs when you age something in a barrel previously used for a different cocktail or spirit. For instance, tequila aged in a barrel previously used to age sherry, bourbon, Manhattans and gin. Or White Whiskey aged, first in a new charred barrel, then aged further after Negroni’s and a Martini. Each of these take on flavors far beyond those found in a charred barrel alone. Thus, the fun!
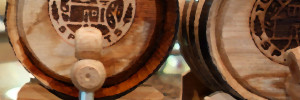
Here are some examples of what we’ve been putting in our barrels.
#foogallery-gallery-2800.fg-simple_portfolio { justify-content: center; } #foogallery-gallery-2800.fg-simple_portfolio .fg-item { flex-basis: 150px; margin: 40px; }


[fruitful_sep]
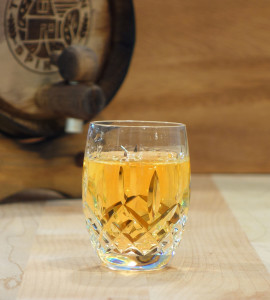
Hudson White Whiskey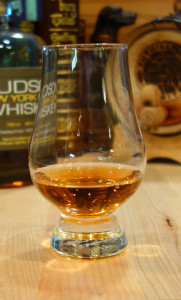
We used Hudson White Whiskey to flavor a new, charred oak barrel. It went in, first for 1 month, then back into the barrel for 2-3 week stents between Negroni’s. A Martini also spent some time in that barrel as well. The Whiskey came out with a nice color. The nose is caramel, vanilla, clove, herbal with a touch of corn whiskey. The flavor is slightly sweet corn whiskey with the oak, caramel, vanilla and herbs. There is a background of gin with a touch of bitterness on the finish. We used it to make an excellent Boulivardier:
Boulivardier with Negroni Aged White Whiskey
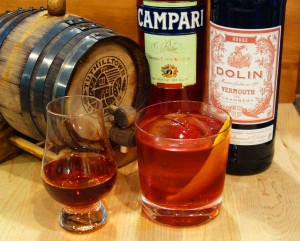
- 1 oz. Negroni Aged White Whiskey
- 1 oz. Dolen Sweet Vermouth
- 1 oz. Campari
- Fat orange peel for garnish
- Chill an old fashioned glass with ice and water
- Combine all ingredients, except the garnish, in a mixing glass with ice and stir to chill
- Strain into chilled old fashioned over fresh, large ice
- Express orange peel over drink and float the peel
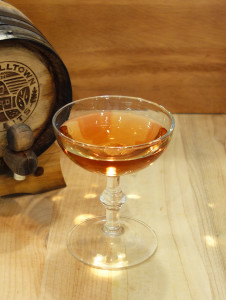
Barrel Aged Sherry
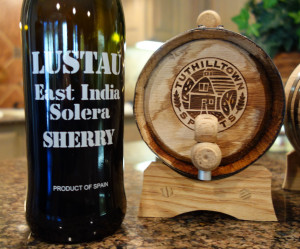
We used Lustau East India Solera Sherry to flavor a second new, charred oak barrel. The barrel was then used to age Bourbon Manhattans. These were aged alternating with the Sherry 3 or 4 times. The barrel was then used to age bourbon, a Tequila Manhattan and gin. The sherry revisited the barrel for 2 – 3 weeks between each cocktail or spirit. The sherry has a bit of color added. The nose is sherry with vanilla, clove and a bit of caramel. The flavor is dried fruits: current, apple, apricot and raisin. I have used it in a number of cocktails that call for sherry. It imparts a slightly mellow flavor along with the sherry you’d expect. Here is our Sherry’d Manhattan:
Manhattan 2.0 with Manhattan/Bourbon/Tequila Barrel Aged Sherry
For the the bourbon in this cocktail, we tried Basil Hayden and Belle Mead. Both were excellent. The bourbon brings flavors of maple, tobacco, smoke and vanilla. This blends well with the rich, earthy Carpano Antica’s tastes of herbs, spice and slight bitterness. The aged sherry intermingles with the Italian Vermouth, smoothing the bitterness and adding to the richness. Here is the recipe:
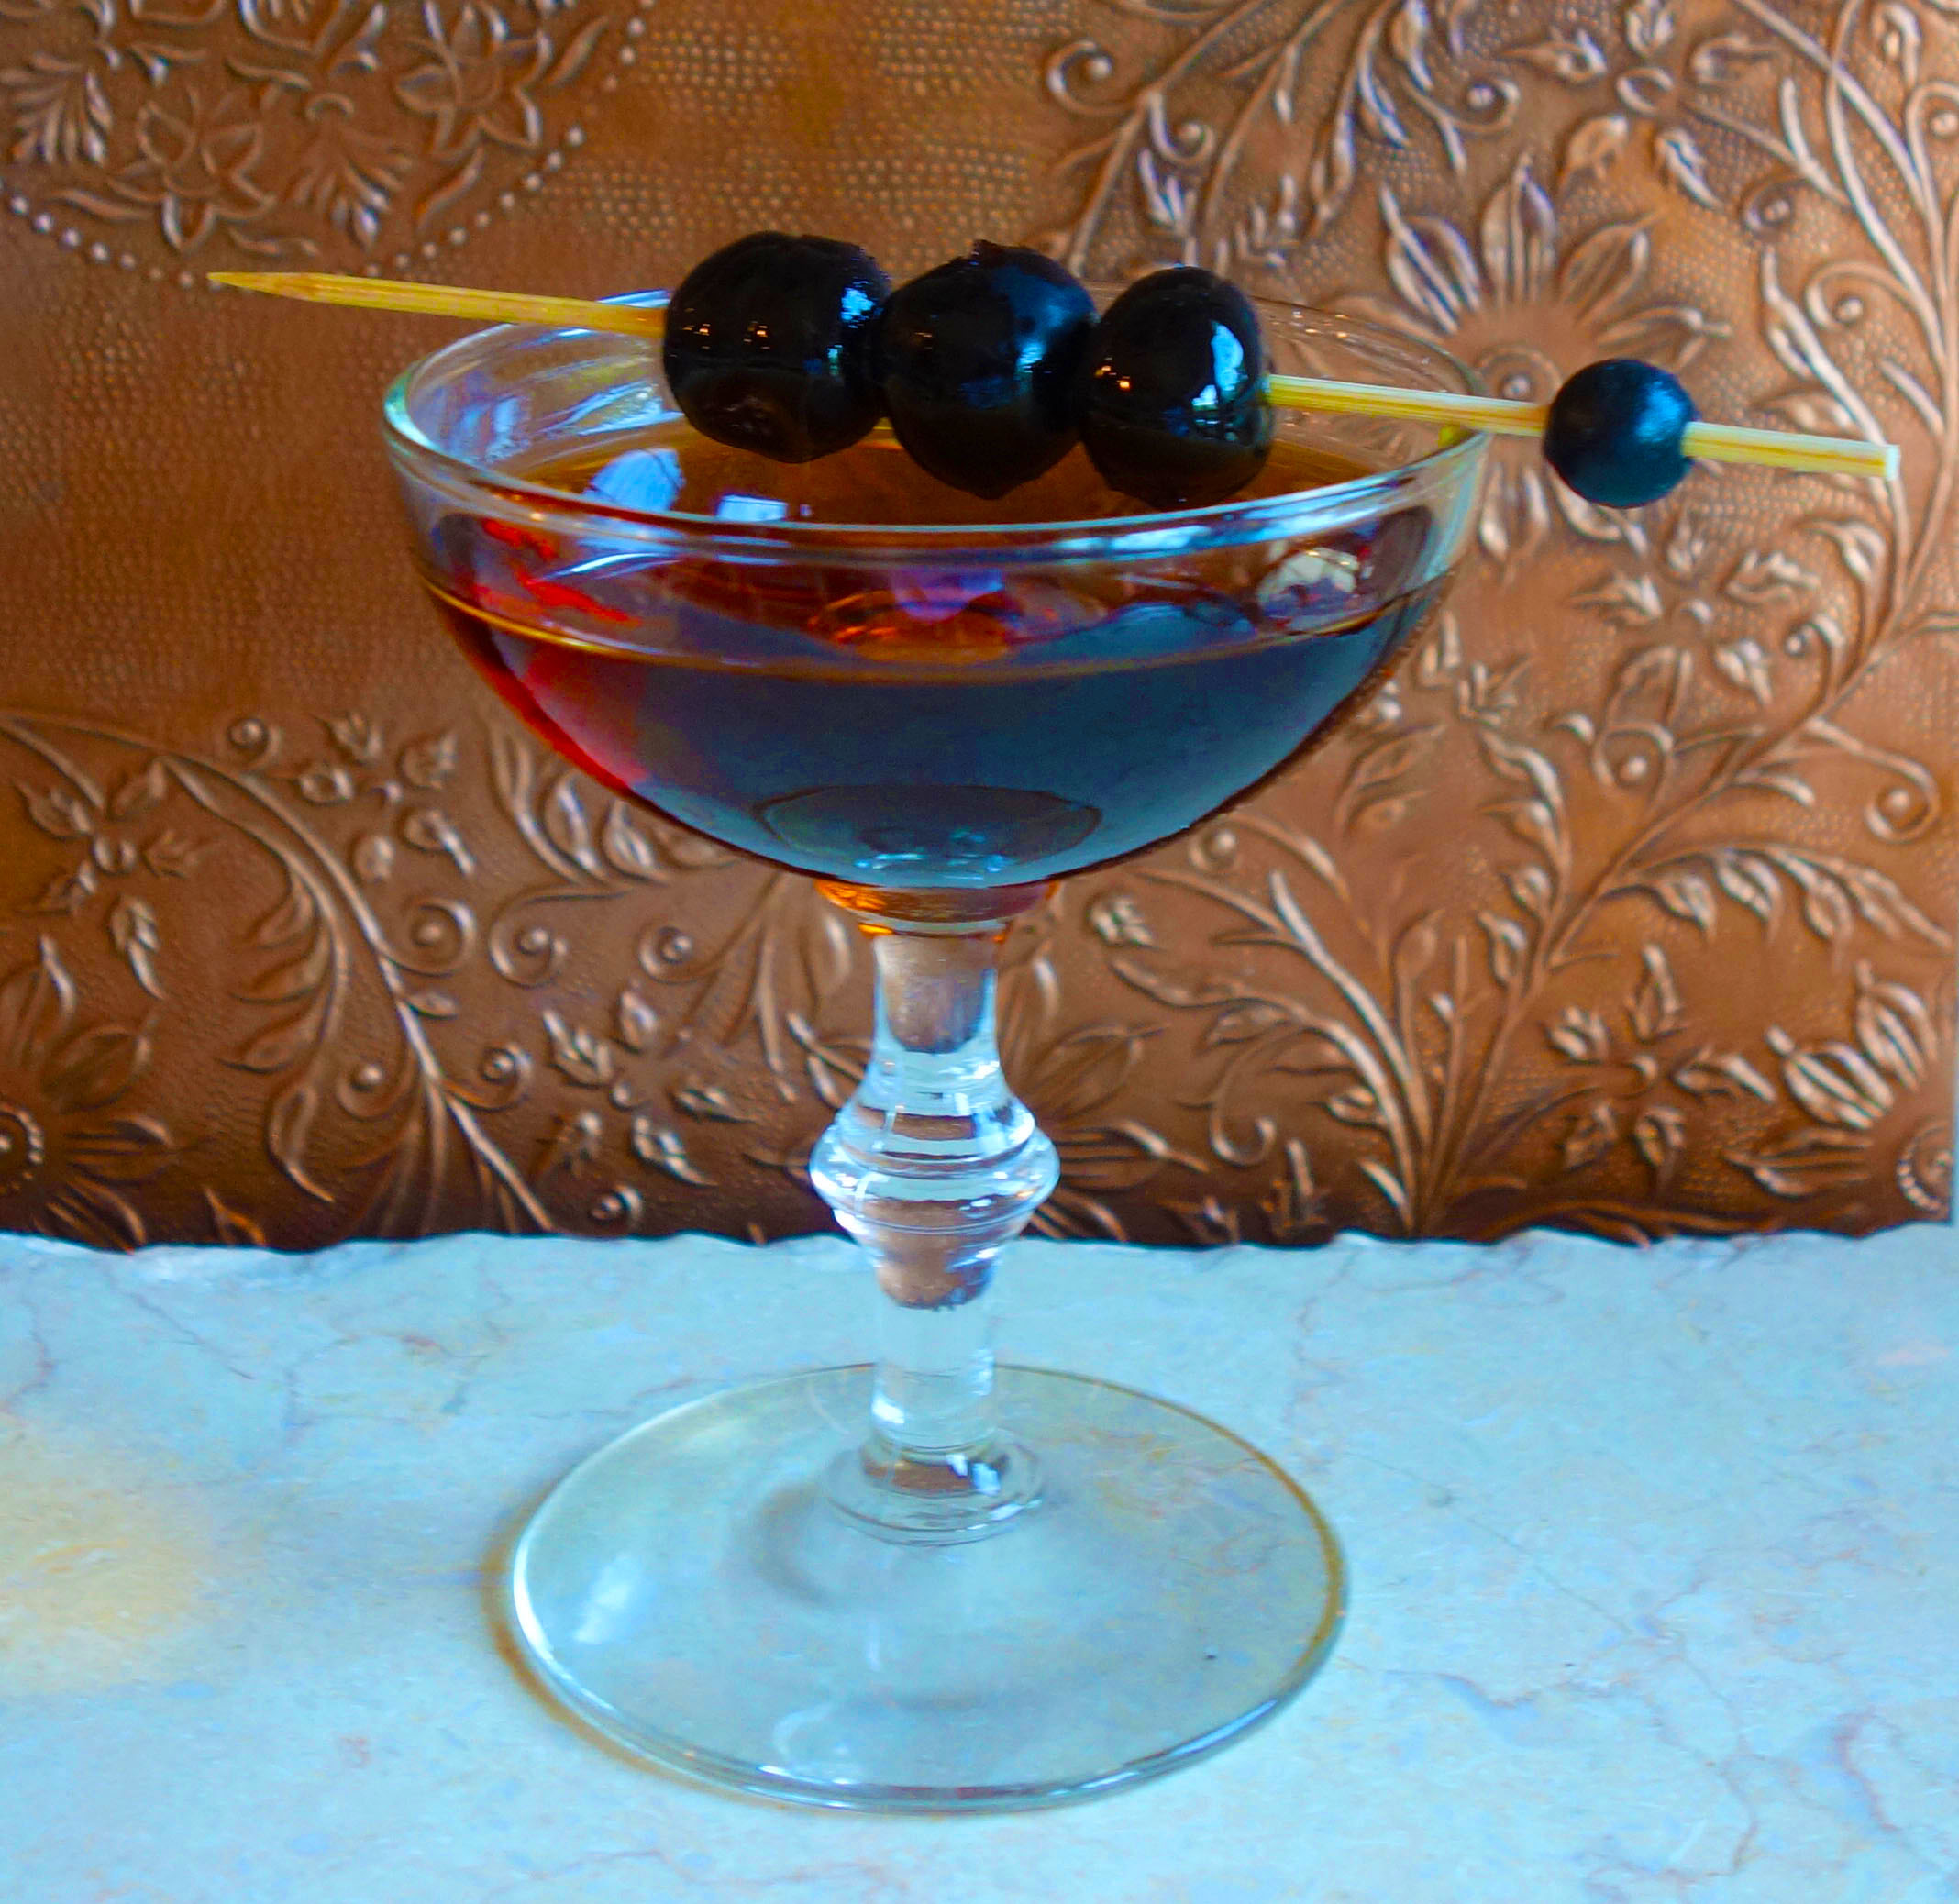
Manhattan 2.0
- 1 1/2 oz. Bourbon
- 3/4 oz. Carpano Antica
- 1/4 oz. Manhattan/Bourbon/Tequila Barrel Aged Sherry
- 1/8 tsp. Grand Marnier
- 1 dash Angostura Orange Bitters
- Garnish: Luxardo Maraschino Cherries and an orange peel
- Chill a cocktail glass with ice and water
- Add the ingredients, except the garnish, to a mixing glass with ice and stir to chill
- Strain into the chilled cocktail glass
- Add the cherries, (or place them on a pick), and express the orange peel over the drink and discard.
Sherry Cask Aged Bourbon
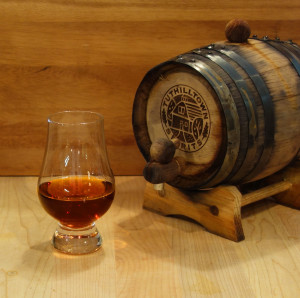 This is one of my favorites. The Sherry Cask Aged Bourbon alone makes barrel aging at home worth while! I used Russel’s 10 yr Old Bourbon. For an aged bourbon, Russel’s has a lot of spice. Aging in a Sherry Cask which had previously been used to age Manhattans mellowed the spice. There are significant flavors from the charred oak barrel: oak, clove, vanilla, and caramel. You can also taste the sherry along with dried fruit, possibly from the Manhattans.
[fruitful_sep]
Manhattan 3.0 with Sherry Cask Aged Bourbon
This cocktail is similar in concept to a barrel aged Manhattan cocktail. However, since the bourbon has taken on flavors from the Sherry barrel while the vermouth was not exposed to the barrel or allowed to oxidize, the flavor is significantly different. As noted above, the Sherry Cask Aged Bourbon brings flavors from the charred oak barrel: oak, clove, vanilla, and caramel with a touch of aged Sherry. The unaged Carpano Antica maintains its rich flavors of fruit and almonds with spice and a slight bitterness on the finish. Together, they create a fabulous cocktail.
- 2 oz. Sherry Cask Aged Bourbon
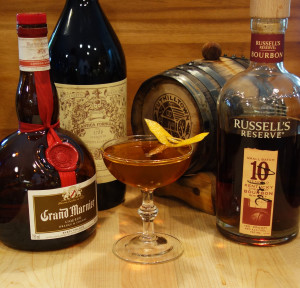
- 1 1/2 oz. Italian Vermouth (sweet)
- 1 tsp Grand Marnier
- 1 – 2 dashes Angostura Orange Bitters
- Orange peel and Maraschino cherries for garnish
- Chill a cocktail glass with ice and water.
- Stir to combine all ingredients, sans cherries, in a mixing glass with ice.
- Strain into chilled cocktail glass, express the orange peel and garnish with the cherries
Negroni/Whiskey Barrel Aged Tequila
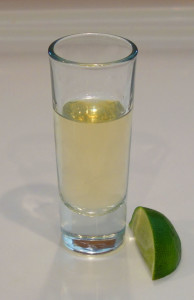 I used Milagro Plata Tequila and aged it for 2 weeks. The barrel was the one described above with Hudson’s White Whiskey alternating with Negroni and a one time Gin Martini. With this aging, I had placed the aged White Whiskey in the barrel just prior to the Tequila. I suspect that the flavor profile might be significantly different if the Tequila had followed a Negroni instead. In the 2 week time, the Tequila took on a little color and a lot of flavor. I was aiming for a primary Tequila flavor with background barrel notes. I was not trying to create Repasado from Plata. After the 2 weeks, the flavor of charred oak was fairly prominent but it was still Tequila and it had picked up vanilla and clove from the oak and spice from the whiskey/Negroni. There was also some dried fruit and herbs from the Negroni. After a few weeks in the bottle, the charred oak flavor diminished some while the rest of the flavors remained.
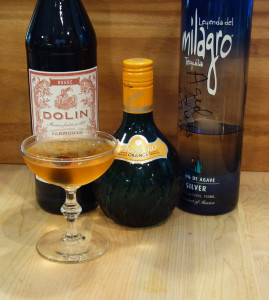
Whiskey/Negroni Barrel Aged Tequila Manhattan
In our standard Tequila Manhattan, I use Lillet Rouge instead of vermouth. This cocktail calls for a much lighter touch so Dolin Sweet Vermouth fits nicely. Sticking with the Tequila theme, I used Agavero Orange Liqueur as the sweetener. It has a nice orange flavor and is a little sweeter than Grand Marnier. If you need to substitute, use more Grand Marnier or add a dash of simple syrup. I wanted to keep the “Manhattan” flavors as much as possible so I went with Bitter Truth’s Jerry Thomas Own Decanter Bitters. The maraschino cherry brings the last touch of sweetness while the bitters up the complexity.
- 1 1/2 oz. Whiskey/Negroni Barrel Aged Tequila
- 1/2 oz. Dolin Sweet Vermouth
- 1/4 oz. Agavero Orange Liqueur
- 4 drops Bitter Truth’s Jerry Thomas Own Decanter Bitters sub Angostura
- Maraschino cherry
- Chill a cocktail glass with ice and water
- Combine all ingedients but the garnish in a mixing glass with ice and stir to chill
- Strain into chilled cocktail glass and garnish with the cherry.
Sherry Barrel Aged Gin
The most distinctive thing about gin is the fresh, herbal flavor. This is true whether you prefer a heavy juniper London Dry or one of the New American Styles. In my use, barrel aging any gin cocktail flattens those herbal notes. They are still there, but the bright, fresh aspect is gone. What is added by the barrel aging process depends almost entirely on what was previously in the barrel and how long the gin is aged. The process works very well for a Negroni – not so much for any type of Martini.
I have seen Sherry Aged Gin on the market, so I wanted to try this with my Sherry barrel. I chose Ford’s Gin, one of my favorite London Dry’s. The barrel had been used to age Sherry, several Manhattans, including a Tequila Manhattan and bourbon. The Sherry went back into the barrel between each Manhattan and before and after the bourbon. So, it had last been used for Sherry just prior to the Gin. Of note, this barrel was reaching the end of its life. Ultimately, you extract all of the flavors – just like a tea bag. After the Gin, I put the Sherry back in the barrel for 4 weeks, then followed it with Bourbon. The Bourbon required 8-10 weeks to achieve the flavors that previously had taken only 4 weeks. After that, the barrel was done!
The Gin was aged for 4 weeks. What came out was straw colored. As noted earlier, the Gin looses some of the brightness of the botanicals but gains a touch of charred oak, a bit of bitterness, clove, cinnamon, dried fruit herbs from the vermouth in the Manhattans along with a bit of spice from the Bourbon. There is a definite touch of Sherry. All in all, aging the Ford’s Gin in the Sherry/Manhattan/Bourbon Barrel was one of our best outcomes. Definitely worthy of a repeat!
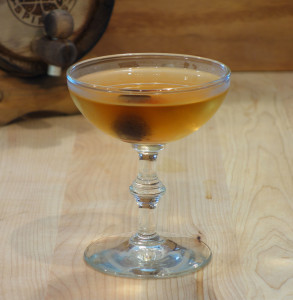
Sherry Barrel Aged Gin Wet Martini
 I wanted to enhance all of the flavors of the aged Gin and you’ll notice that this goes very light on the sweet vermouth. With so little sweetener, the bitterness of the charred oak comes through. The overall nose is Gin with a touch of oak. Flavors are London Dry Gin with a flattening of the herbal notes and a bittersweet background of Sherry/Charred Oak. The barrels previous Manhattan occupants add some dried fruit, herbs and spice. I tried this with and without expressing a lemon peel, but couldn’t decide which I liked better. So, I’ll leave the garnish to you!
[fruitful_sep]
- 1 1/2 Sherry Barrel Aged Gin
- 1/4 oz. Dolin Sweet Vermouth
- 4 drops Regan’s Orange Bitters
- Lemon peel for garnish – optional
- Chill a cocktail glass with ice and water
- Combine all ingredients in a mixing glass with ice and stir to chill
- Strain into chilled cocktail glass
- Garnish with the lemon peel if using
Well, these are some of my ideas for barrel aging. In reality, and part of the adventure, is that none of these will be 100% reproducible! I highly recommend that you try this at home. The barrels are not expensive and the outcomes are definitively worth the little effort involved. The process will require you to frequently sample some tasty cocktails and spirits as they age. It’s a tough job…
Cheers!